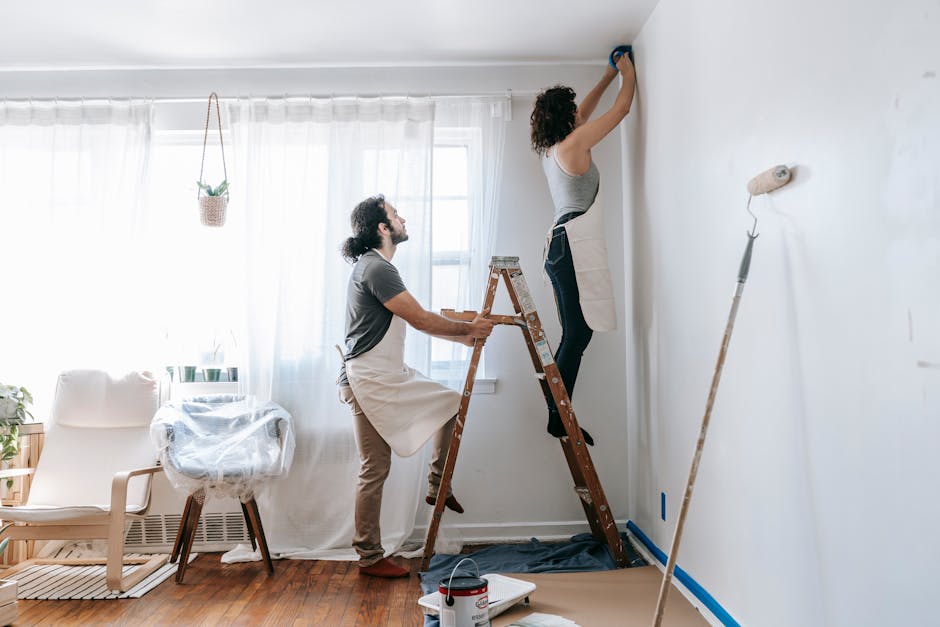
You've just painted your living room wall, and after some time, you notice the paint is peeling, bubbling, or not adhering properly. Frustrating, right? This is a common issue faced by many DIY enthusiasts, especially in homes across Nigeria where climate and humidity play a significant role. But don't worry, there's a fix for every problem. Let's explore why your paint might not be sticking and how to solve it.
Understanding the Root Cause
Before diving into solutions, it's crucial to understand the root causes of paint adhesion problems. Knowing why your paint isn't sticking will help you address the issue efficiently.
Surface Contaminations
Dust, dirt, and grease are notorious for causing paint to peel. They act as a barrier between the paint and the wall.
- Grease and Oil: Kitchens can be particularly problematic due to grease from cooking.
- Dust and Dirt: Common in areas with high traffic or near open windows.
"Always clean the surface thoroughly before applying paint for best results."
Moisture and Humidity
Nigeria's climate can be humid, which poses challenges for paint adhesion. Moist walls can cause paint to bubble and peel.
- Leaky Walls: Check for plumbing issues or leaks that might be making the walls damp.
- High Humidity: Consider using a dehumidifier if humidity is a persistent problem.
Prepping the Surface
Preparation is the key to achieving a flawless paint job. Skipping steps can lead to poor results.
Cleaning and Sanding
Ensuring the wall is clean and smooth is critical. Here's how you can prep your surfaces properly:
- Use a Degreaser: Products like TSP (Trisodium Phosphate) can effectively remove grease.
- Sanding: Use fine-grit sandpaper to smoothen the wall and remove any old paint.
Priming the Wall
Primer is essential, especially for walls that have never been painted or are porous.
- Choose the Right Primer: Use a high-quality primer suitable for your wall type.
- Apply Uniformly: Ensure even coverage to prevent future issues.
Choosing the Right Paint
Not all paints are created equal. Selecting the best paint for your specific needs can prevent future headaches.
Quality Over Cost
While it might be tempting to choose cheaper options, investing in quality paint pays off.
- Consider Weather Conditions: Use weather-resistant paints in areas prone to moisture.
- Brand Matters: Reputable brands offer more durable and lasting products.
"Investing in high-quality paint can save you time and effort in the long run."
Applying the Paint
Even with perfect prep and the right paint, improper application can still cause issues.
Technique Matters
Applying paint correctly ensures better adhesion and smooth finish.
- Use the Right Tools: A good quality roller and brush can make a significant difference.
- Apply Even Coats: Thin, even layers adhere better than thick ones.
Troubleshooting Common Problems
Even after meticulous preparation, sometimes things go awry. Here’s how to deal with specific problems.
Peeling Paint
If your paint is peeling, it might be due to insufficient surface prep or using the wrong type of paint.
- Re-sand and Prime: Strip the peeling paint, sand the surface, and reapply primer.
- Check for Moisture: Always ensure the wall is dry before painting.
Bubbling or Blistering
This occurs when paint dries too quickly or when moisture is trapped beneath the surface.
- Control Temperature and Humidity: Avoid painting in extremely hot or humid conditions.
- Ventilation: Ensure proper airflow to speed up drying.
Final Thoughts
Painting can be a rewarding DIY task, transforming your space with a personal touch. However, when things go wrong, it can be quite frustrating. By understanding the causes of paint adhesion issues and implementing the solutions discussed, you can achieve a lasting and beautiful finish on your walls. Remember, preparation is key, and quality should never be sacrificed for cost.