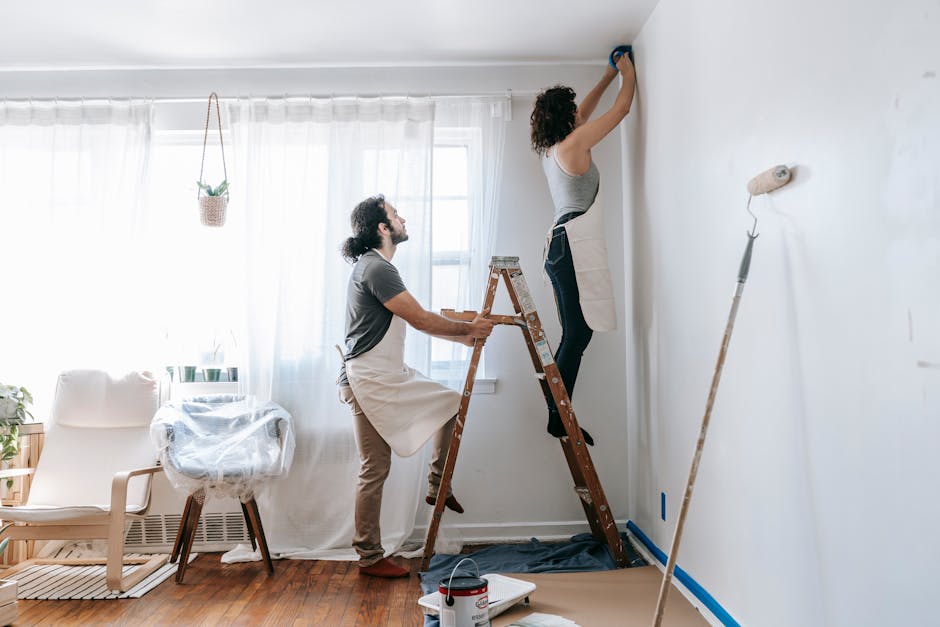
Painting a living room is one of the most transformative DIY projects you can undertake in your home. Yet, many people find themselves frustrated with uneven paint finishes. This mistake is all too common and can leave your walls looking less than stellar. The good news? With a few straightforward adjustments, you can avoid these pitfalls and achieve a professional-looking finish every time.
Think about how vibrant and welcoming a freshly painted living room can be. It's the heart of your home, where family and friends gather. But nothing ruins the aesthetic faster than patchy, streaky walls. Let's dive into why this happens and how you can fix it.
Understanding the Causes of Uneven Paint Finishes
Before we delve into solutions, it's crucial to understand why uneven finishes occur. This way, you can address the root cause rather than just the symptoms.
Using Low-Quality Paint
One of the primary culprits of uneven finishes is the use of low-quality paint. These paints often have poor coverage, requiring more coats to achieve an even look.
- Recommendation: Opt for high-quality paints from reputable brands, such as Dulux or Berger Paints. These brands often provide better coverage and durability.
Improper Wall Preparation
Skipping the prep work is a shortcut that leads to subpar results. Dust, grime, and old paint residues can interfere with new paint adhesion.
- Tip: Always clean your walls with a mild detergent and patch any holes or cracks with filler before painting.
Techniques to Achieve a Flawless Finish
Now that we know what causes uneven finishes, let's look at some techniques to help you achieve that flawless, professional look.
Investing in Quality Tools
Using the right tools can make a world of difference in your paint job.
- High-Quality Brushes and Rollers: Invest in good quality brushes and rollers. A 3/8-inch nap roller is generally a good choice for most walls.
- Tip: Avoid cheap brushes that shed bristles, which can ruin your finish.
Mastering the Painting Technique
Even with the best paint and tools, technique matters.
- Cut In Properly: Start by painting the edges of your wall with a brush before using a roller. This is known as 'cutting in'.
- Roll in a 'W' Pattern: Roll your roller in a 'W' pattern and fill in the blanks without lifting the roller. This helps distribute the paint evenly.
Common Mistakes and How to Fix Them
Even with the best intentions, mistakes can happen. Here's how to fix some common ones.
Dealing with Drips and Sags
Drips are a common result of overloading your brush or roller with paint.
- Solution: Use less paint on your roller and apply gentle pressure. If drips occur, gently smooth them out with a brush or roller while the paint is still wet.
Handling Streaks
Streaks often appear when there's an uneven application of paint or when the paint is applied in varying thicknesses.
- Fix: Apply a second coat once the first one is dry, ensuring consistent pressure and coverage.
Maintaining Your Freshly Painted Walls
Once your living room is beautifully painted, maintaining it is key to longevity.
Regular Cleaning
Dust and dirt can dull the appearance of your walls.
- Tip: Clean your walls with a damp sponge and mild soap every few months.
Repairing Minor Damages
Minor scuffs or chips can be easily fixed without repainting the entire wall.
- Patch and Paint: Use leftover paint to touch up small areas as needed.
"A well-painted wall is a canvas for your life at home. Get it right, and you'll enjoy its beauty every day."
Conclusion
Avoiding uneven paint finishes is all about preparation, using quality materials, and employing the right techniques. By understanding the common mistakes and how to fix them, you're well on your way to a stunning living room that you'll love to show off. Remember, patience and attention to detail are your best friends in any DIY project. Happy painting!