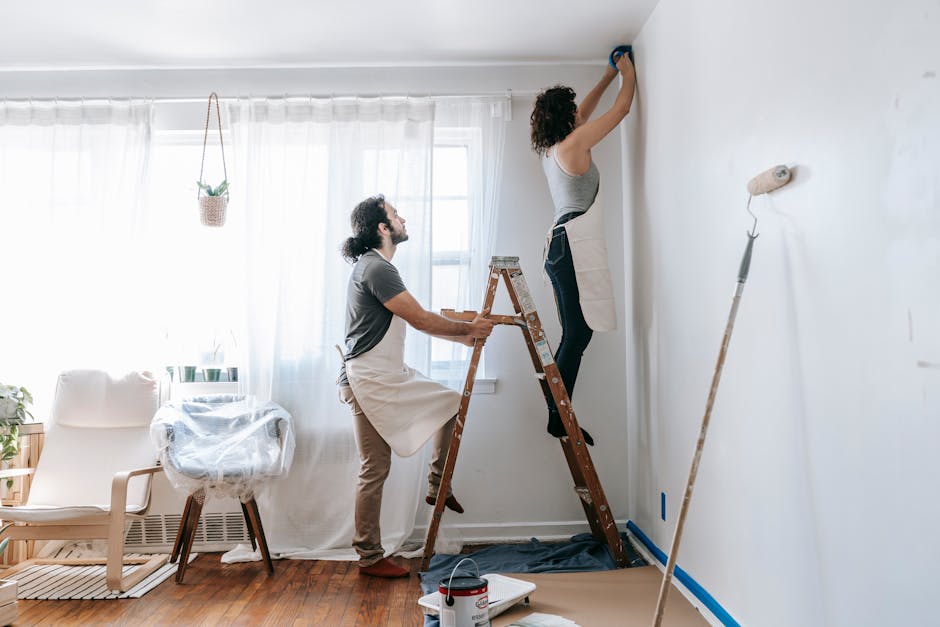
Picture this: You’ve just finished painting your living room, picking out the perfect shade to match your furniture and bring out the best in your decor. As you step back to admire your work, you’re horrified to find unsightly bubbles, known as paint blisters, marring the surface. This common issue can be frustrating, especially after investing time and effort into a DIY project. But fear not! With a little understanding and the right techniques, you can prevent and fix this problem, achieving a smooth, professional finish.
Paint blisters occur when the paint lifts from the underlying surface, creating bubbles or blisters. This can happen for several reasons, including moisture, heat, or improper surface preparation. Thankfully, each of these causes can be addressed with some simple strategies. Let's dive into the most common mistakes leading to paint blisters and how to fix them.
Understanding the Causes of Paint Blisters
Moisture Intrusion
One of the primary causes of paint blisters is moisture. This might be due to high humidity, leaks, or painting on a damp surface. In Nigeria, where humidity can be quite high, this is a common problem.
- Check for leaks: Before painting, inspect the walls for any signs of leaks or water damage. Fix these issues to prevent moisture from seeping behind the paint.
- Mind the weather: Avoid painting on rainy or extremely humid days. Opt for dry periods or use a dehumidifier if necessary.
- Allow for drying time: Ensure that the surface is completely dry before you begin painting. This might mean waiting a bit longer between cleaning and painting, but it's worth it.
Surface Preparation
Another common mistake is failing to properly prepare the surface before painting. Skipping steps like cleaning, sanding, or priming can lead to poor adhesion and blistering.
- Clean thoroughly: Remove dust, dirt, and grease from the walls using a mild detergent solution. A clean surface helps the paint adhere better.
- Sand and prime: Sand the surface lightly to create a smooth base and apply a quality primer. Primers help the paint stick and can prevent moisture penetration.
- Inspect the paint: Use high-quality paint suited for the specific room conditions. For instance, consider moisture-resistant paint for bathrooms and kitchens.
Fixing Existing Paint Blisters
Repairing Small Blisters
If you notice small blisters after painting, you can often fix them without repainting the entire surface.
- Pop gently: Use a pin to puncture the blister carefully, allowing the trapped air or moisture to escape.
- Smooth it out: Press the blistered paint back to the surface using a clean, dry cloth.
- Refinish: Sand the area lightly, apply a primer, and touch up with the original paint for a seamless look.
Addressing Large Blisters
Larger blisters may require more extensive repair.
- Remove affected paint: Scrape off the blistered paint using a putty knife.
- Sand the area: Smooth out the edges of the remaining paint and the exposed surface.
- Prime and repaint: Apply a primer to the area and once dry, repaint with a fresh coat.
Preventing Future Blisters
Choosing the Right Products
The type of paint and primer you choose can make a big difference in preventing blisters.
- Quality over cost: Invest in high-quality paints and primers. They might be more expensive, but they're worth it in the long run for durability and finish.
- Consider the environment: Use paints that are formulated for high-humidity areas or those that resist alkali and salts, especially near coastal regions.
Proper Application Techniques
The way you apply the paint can also impact its longevity and appearance.
- Follow manufacturer instructions: Always check the label for specific instructions regarding application and drying times.
- Apply in thin, even coats: Thick layers of paint are more prone to blistering. Two thin coats are often better than one thick one.
- Mind the environment: Paint in conditions that are neither too hot nor too cold. Ideal temperatures help the paint cure properly.
Conclusion
Dealing with paint blisters can be a real headache, especially when you’ve put so much effort into your DIY home project. But by understanding the causes and taking preventative measures, you can achieve that smooth, flawless finish you’ve been dreaming of. Remember, preparation is key. Take your time with each step, and don't rush the process. Your walls will thank you, and your home will look stunning. Happy painting!