Are you looking to add a unique touch to your home without breaking the bank? DIY wall art using recycled materials might be just the creative outlet you need. In Nigeria, where resourcefulness is a way of life, turning everyday materials into stunning wall decor is not just a trend, but a testament to creativity and sustainability. In this guide, we'll explore how you can transform your space with beautiful DIY wall art, all while supporting an eco-friendly lifestyle.
Recycling is more than just a buzzword; it's a sustainable practice that helps reduce waste and promotes environmental consciousness. By upcycling materials you already have at home, you can create stunning pieces of art that reflect your personal style and cultural heritage. Whether you live in bustling Lagos or the serene countryside, these projects are adaptable to any setting and skill level.
Let's dive into the world of DIY wall art with recycled materials and discover how you can make your home a haven of creativity and sustainability.
Gathering Materials
Common Recyclable Materials
The first step in any upcycling project is to gather your materials. Look around your home for items that can be repurposed. Here are some common materials you might consider:
- Cardboard: Easily available and versatile, perfect for creating sturdy art bases.
- Plastic Bottles: Use them to create dynamic textures and shapes.
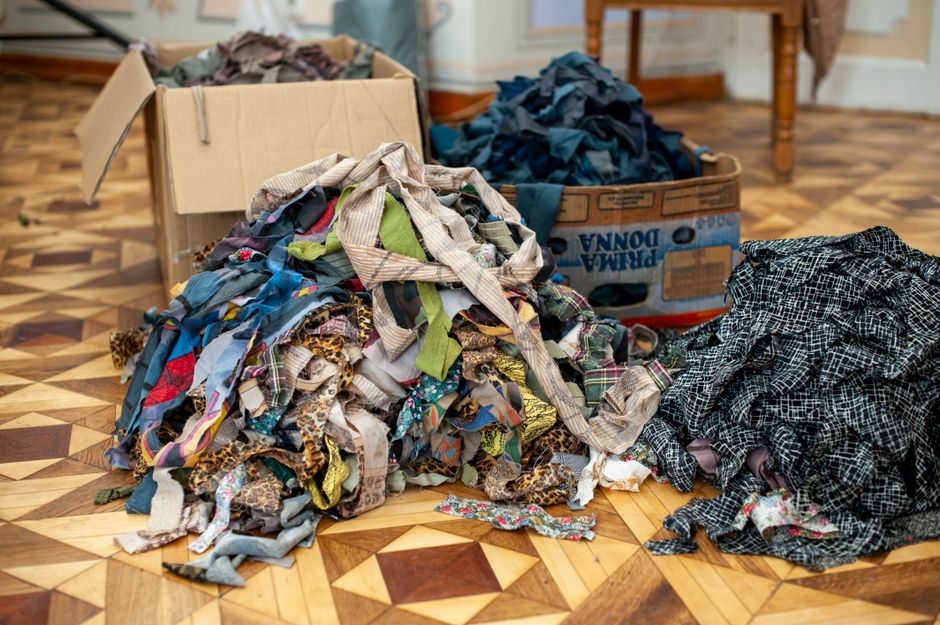
- Fabric Scraps: Ideal for adding color and texture to your designs.
- Newspapers and Magazines: Great for creating collages and layered effects.
- Old CDs: Can be cut into shapes to add reflective elements.
Tools You'll Need
Having the right tools can make your DIY project smoother and more enjoyable. Consider gathering the following:
- Scissors and Craft Knife: For precise cutting of materials.
- Glue Gun: Essential for strong and quick adhesive results.
- Acrylic Paints: To add a pop of color to your creations.
- Paint Brushes: Various sizes for different painting techniques.
- Measuring Tape: Ensures your design fits perfectly on your wall.
Creative DIY Wall Art Ideas
Cardboard Geometric Wall Art
Cardboard is a fantastic material to start with due to its availability and ease of use. Create striking geometric patterns that can serve as a centerpiece for any room.
"Creativity takes courage." – Henri Matisse
Cut out various geometric shapes from cardboard, paint them in colors that match your home decor, and arrange them on a large piece of cardboard or directly on the wall in an eye-catching pattern.
Plastic Bottle Flowers
Transform plastic bottles into beautiful flowers by cutting and shaping them with scissors. Paint them in vibrant colors and arrange them into a stunning bouquet on your wall.
Plastic bottle flowers are not only eco-friendly but also add a three-dimensional effect to your wall art, making it a conversation starter for guests.
Executing Your Design
Preparation and Planning
Before jumping into the creation process, plan your design carefully. Measure the space on your wall to ensure your art will fit perfectly. Sketch your design on paper and visualize how each piece will come together.
Building Your Art Piece
Start assembling your materials according to your design plan. Use your glue gun to attach pieces securely. Be patient and give each layer time to dry before adding more elements.
Don't be afraid to experiment with textures and colors. Sometimes, the most unexpected combinations yield the most striking results.
Finishing Touches
Adding Texture and Dimension
To give your art piece more depth, consider adding layers or using different materials to create a textured effect. Fabric scraps can be used to create a soft background, while newspaper strips can add an interesting visual dimension.
"Design is thinking made visual." – Saul Bass
Securing Your Artwork
Once your artwork is complete, ensure it is securely attached to the wall. Use sturdy hooks or adhesive strips that can handle the weight of your design.
If you're renting and can't make permanent changes, consider using removable adhesive strips that won't damage the paint when removed.
Showcasing Your Art
Choosing the Right Location
The placement of your DIY wall art is crucial in making sure it complements your room. Consider areas that are focal points in your home, such as above the sofa, in the hallway, or in the dining area.
Lighting Considerations
Good lighting can enhance the colors and textures of your artwork. If possible, place your art where it can receive natural sunlight during the day. In the evening, use spotlights or LED strips to highlight specific features.
Conclusion
Creating DIY wall art from recycled materials is not just a sustainable choice but also a fulfilling creative process. With a little imagination and resourcefulness, you can transform everyday items into beautiful art pieces that reflect your personal style and commitment to the environment. Whether you're adding a touch of color to your living room or creating a focal point in your bedroom, your handmade art will surely become a cherished part of your home.
So, gather your materials, unleash your creativity, and start creating. Your home and the planet will thank you for it.