Is your kitchen crying out for a change, but a full renovation isn't in your budget? Don't worry, because with a little creativity and effort, you can achieve a stunning transformation. Welcome to the world of DIY cabinet refacing, a project that brings a fresh, new look to your kitchen without the hefty price tag. This guide will walk you through the process step-by-step, ensuring that your kitchen becomes a space you love and cherish.
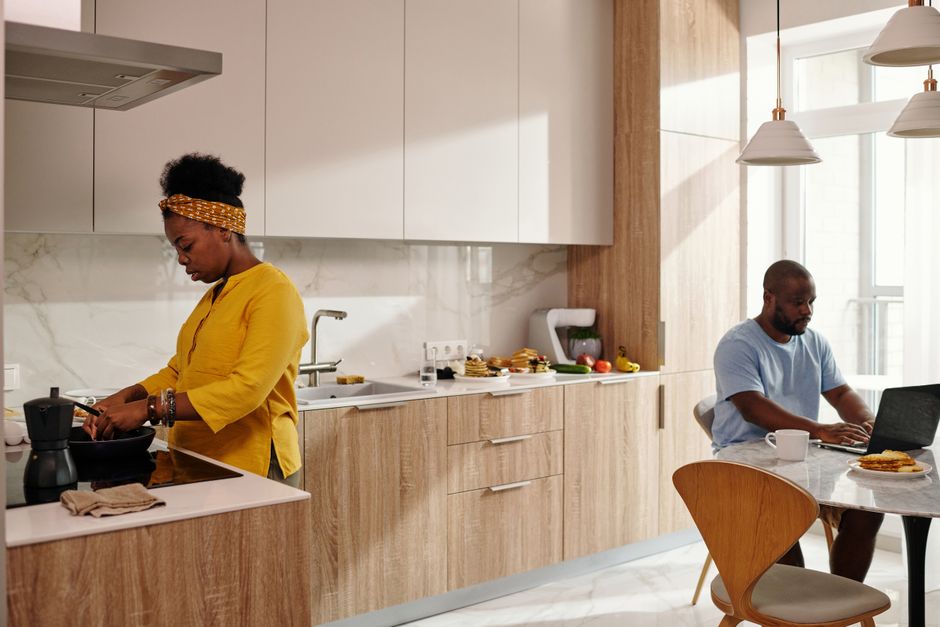
In many Nigerian homes, the kitchen is more than just a place to cook—it's the heart of the home, where families gather, children do their homework, and memories are made. Let's dive into how you can refresh this vital space with a project that's both rewarding and budget-friendly.
We'll cover everything from the tools and materials you'll need to the step-by-step process of removing old cabinet doors, installing new veneers, and adding the finishing touches.
Understanding Cabinet Refacing
What is Cabinet Refacing?
Cabinet refacing is the process of giving your existing cabinets a new appearance by replacing the doors and veneers. Instead of tearing down your entire cabinetry, which can be costly and time-consuming, refacing allows you to keep the existing structure while upgrading the exterior.
This method is particularly popular in Nigeria due to its cost-effectiveness and the minimal disruption it causes to daily life. It’s a smart way to achieve a modern look without breaking the bank.
"Cabinet refacing is an economical alternative to a full kitchen remodel, offering a fresh look in less time and with less mess."
Benefits of Cabinet Refacing
- Cost-Effective: Refacing is significantly cheaper than a complete kitchen overhaul.
- Less Mess: Since you're not demolishing your kitchen, there's less debris and disruption.
- Customizable: Choose new door styles, colors, and finishes to match your taste.
Now that you understand what cabinet refacing is and why it's beneficial, let’s get into the nitty-gritty: how to do it yourself.
Gathering Your Tools and Materials
Essential Tools
- Screwdriver set: For removing existing hardware.
- Measuring tape: To ensure accurate measurements for new materials.
- Sandpaper or electric sander: Prepping the surfaces.
- Utility knife: For trimming veneers.
- Paintbrushes: For applying finishes.
Materials Needed
- New cabinet doors and drawer fronts: Available in various styles and finishes.
- Wood veneer or laminate: For covering the cabinet boxes.
- Adhesive: To secure veneers to the cabinet frame.
- Finishing paint or stain: Optional, depending on your chosen style.
Proper preparation is key to any DIY project, so make sure you have all your tools and materials ready before you start.
Step-by-Step Guide to Cabinet Refacing
Step 1: Remove Old Cabinet Doors and Hardware
Begin by removing the cabinet doors, drawer fronts, and all the hardware. Use your screwdriver to take off hinges and knobs. Keep the hardware together in a safe place if you plan to reuse it.
Step 2: Prepare the Cabinet Frame
Clean the cabinet frames thoroughly to remove any grease or dirt. Once clean, use sandpaper or an electric sander to smooth the surfaces. This ensures the adhesive for the veneer will bond properly.
Step 3: Apply Veneer to Cabinet Frames
Measure the surfaces of the cabinet frames and cut your veneer or laminate to size. Apply adhesive to the back of the veneer and press it firmly onto the cabinet frames, smoothing out any air bubbles as you go.
"Take your time with the veneer application, as a smooth finish will make all the difference in the final look."
Step 4: Attach New Doors and Hardware
Once the veneer is securely in place and the adhesive has dried, attach the new doors and drawer fronts. Use your screwdriver to install new or existing hardware, ensuring everything is aligned and functions properly.
Adding the Finishing Touches
Painting and Staining
If you’ve chosen unfinished doors or frames, now is the time to paint or stain them to your desired color. Use high-quality paints or stains suitable for kitchen environments to ensure durability.
Installing Additional Features
- Crown Molding: Add elegance and height to your cabinets with crown molding.
- Under-cabinet Lighting: Enhance functionality and ambiance.
These finishing touches not only enhance the aesthetic appeal but also add to the usability of your kitchen.
Conclusion
Refacing your kitchen cabinets is a rewarding DIY project that can dramatically change the look of your home’s most important space. With the steps outlined in this guide, you can achieve a professional-standard finish while saving a substantial amount of money.
Remember, the key to success is in the details. Take your time with each step, from selecting materials to applying finishes, to ensure a result that not only looks great but also stands the test of time.
So, are you ready to give your kitchen the makeover it deserves? Gather your tools, pick out your favorite finishes, and start your refacing project today!