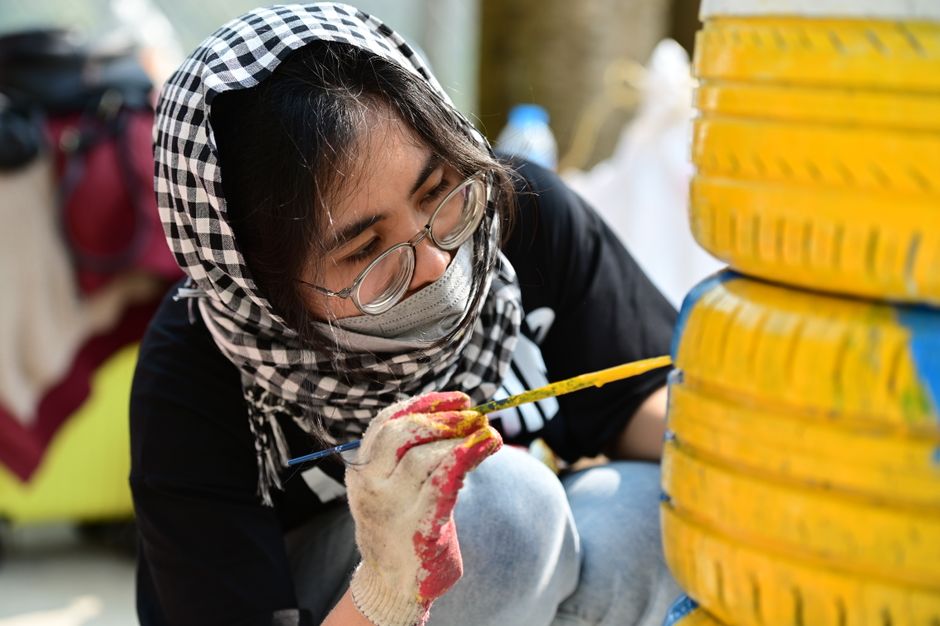
Have you ever looked at a pile of old tires and wondered if they could serve a purpose besides just collecting dust? Well, you're in luck! With a bit of creativity and some elbow grease, you can transform these rubber relics into stunning garden planters that will add a splash of color to your outdoor space. This DIY project not only reduces waste but also gives you a sense of accomplishment each time you glance at your vibrant garden. And for our Nigerian readers, this is a fantastic way to embrace sustainable living while beautifying your home environment.
In this comprehensive guide, we'll take you through every step of the process, from gathering the necessary materials to adding the final artistic touches. By the end, you'll not only have a unique garden planter but also a conversation starter for friends and family who visit. So, let's dive into the world of upcycling and discover how to turn old tires into eye-catching planters!
Getting Started: Materials and Tools You Need
Essential Materials
- Old tires (car or truck tires, depending on the size you desire)
- Exterior-grade paint in your choice of colors
- Paintbrushes or spray paint
- Soil
- Plants or flowers of your choice
Tools Required
- Drill with a bit for rubber
- Sandpaper
- Masking tape (optional)
- Drop cloth or newspapers
"The key to successful upcycling is in the preparation. Ensuring you have all the materials and tools beforehand makes the process smooth and enjoyable."
Preparing Your Tires
Cleaning the Tires
Before you begin painting, it's crucial to clean the tires thoroughly. Use a hose to wash away any dirt and grime, and then scrub the surface with soap and water. Rinse thoroughly and let them dry completely.
Sanding
Once the tires are dry, sand them lightly to help the paint adhere better. This step is especially important if the tires have a glaze or are particularly smooth. Wipe away any dust with a damp cloth after sanding.
Painting the Tires
Choosing the Right Paint
Select exterior-grade paint to ensure your planters withstand the elements. You can opt for spray paint for a smooth finish or use brushes for detailed designs.
Painting Process
Lay the tires on a drop cloth or newspapers to protect your workspace. Begin by applying a base coat of paint, allowing it to dry completely before adding additional coats or designs. You might want to use masking tape to create patterns or stripes.
"Don’t shy away from bold colors – they can transform your garden into a lively oasis."
Assembling Your Planter
Drilling Drainage Holes
Using a drill, create several holes on the bottom side of the tire to ensure proper drainage. This prevents water from collecting at the bottom, which could harm your plants.
Adding Soil and Plants
Once the paint is fully dry, fill the tire with soil, leaving some space at the top for your plants. Carefully place your chosen plants into the soil, arranging them as desired.
Decorating and Maintaining
Final Decorative Touches
If you wish, add additional decorative elements such as stones or ornaments to further personalize your planter. These touches can add character and charm to your new creation.
Maintenance Tips
- Water your plants regularly, but ensure the soil drains well to prevent root rot.
- Reapply paint every year or so to maintain vibrant colors.
- Rotate the tires occasionally to ensure even exposure to sunlight.
Conclusion
And there you have it! By following these steps, you've not only given new life to old tires but also enhanced your garden's beauty with unique, handmade planters. This project is a testament to the power of creativity and sustainability, showing that with a little effort, you can make a significant impact on the environment and your living space. Whether you're in Lagos, Abuja, or any part of Nigeria, this is a perfect weekend project that the whole family can enjoy. Happy gardening!