Imagine transforming an old, unused tire into a stylish piece of furniture for your patio or garden. Not only do you get a unique, conversation-starting piece, but you also contribute to environmental sustainability by repurposing materials that would otherwise occupy space in landfills. In Nigeria, where creativity meets necessity, this DIY project resonates particularly well. Whether you're a seasoned DIY enthusiast or a beginner seeking a fun weekend project, learning how to upcycle old tires into outdoor furniture is both rewarding and practical.
In this guide, we'll walk you through the process of turning those old tires into chic, durable furniture pieces perfect for your outdoor space. You'll learn about the tools and materials needed, step-by-step instructions, creative design ideas, and practical tips to ensure your project is a success. Let's dive in and unleash your inner craftsman!
Gathering Your Tools and Materials
Essential Tools
- Power drill
- Jigsaw or hand saw
- Measuring tape
- Paintbrushes
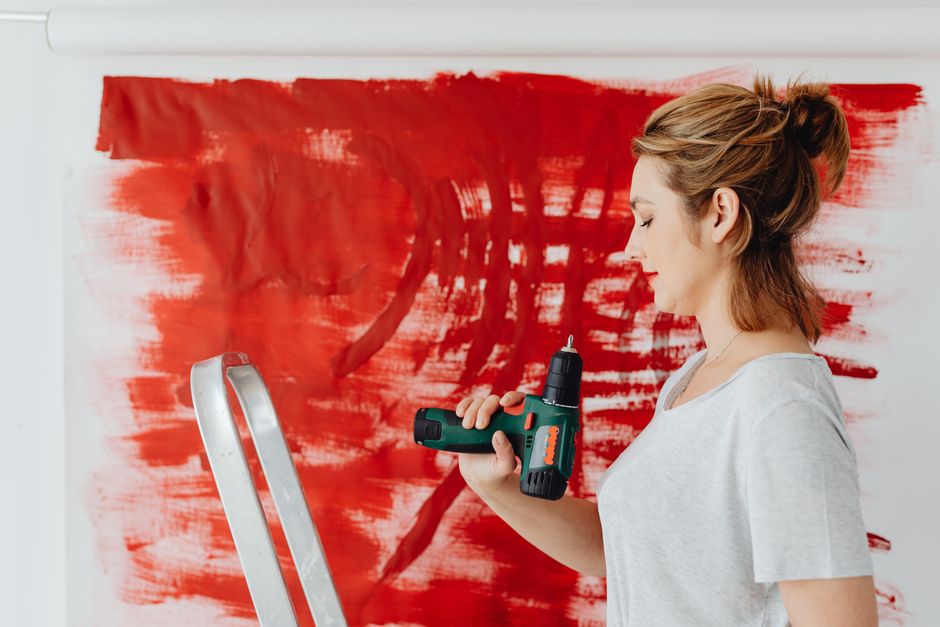
Having the right tools is crucial for any DIY project. A power drill is essential for creating holes necessary for assembling parts, while a jigsaw or hand saw will help in cutting wooden planks to your desired size. Additionally, a measuring tape ensures precision, and paintbrushes are used for painting your finished piece.
Required Materials
- Old tires
- Wooden planks
- Rope (jute or sisal)
- Outdoor-grade paint
- Varnish
- Foam cushions
Kickstarting this project requires a few essential materials. You'll need old tires, which are often available for free or at a minimal cost at local garages. Wooden planks serve as the base and tabletop, while natural ropes like jute or sisal add a rustic touch. Outdoor-grade paint and varnish will protect your creation from weather elements, and foam cushions provide comfort.
Step-by-Step Guide to Upcycling Tires
Preparing the Tires
Before anything, it's important to clean your tires thoroughly. Use soap and water to remove any dirt or grime. Once clean, let them dry completely.
Constructing the Base
- Cut wooden planks to fit the diameter of the tire.
- Secure the planks onto the tire using screws and a power drill.
- Add a second layer of wood if required for extra stability.
"Ensure your wooden base is sturdy enough to support weight. A double layer can offer additional support and longevity."
Wrapping the Tire with Rope
- Start at the center of the tire and begin wrapping with the chosen rope.
- Use hot glue to secure each section of the rope as you progress.
- Continue wrapping until the entire surface is covered.
The rope wrapping not only enhances the aesthetic appeal but also provides a textured surface that's comfortable to touch.
Finishing Touches
Once your tire is wrapped, it's time for painting. Opt for vibrant outdoor-grade paint to enhance weather resistance. After painting, allow it to dry completely before applying a varnish coat to seal the paint.
Add foam cushions to the top of the tire to create a comfortable seat, or leave it bare to serve as a table. Either way, your piece is now ready to take center stage in your garden or patio.
Design Ideas and Customization
Color Schemes
Choose colors that complement your existing outdoor decor. Earthy tones like green and brown blend well with nature, while bright colors like red and blue can make a vibrant statement.
Additional Features
- Add wheels for mobility.
- Incorporate a glass top for a sleek look.
- Attach fabric skirts for a softer appearance.
Maintaining Your Upcycled Furniture
Maintaining your upcycled tire furniture is essential for longevity. Regularly check for wear and tear, especially after harsh weather conditions. Reapply varnish annually to protect the paint and wood.
"A little maintenance goes a long way in preserving your crafted masterpiece. Keep your furniture looking fresh with regular touch-ups."
Conclusion
Turning old tires into outdoor furniture offers a sustainable solution that combines creativity with functionality. This project not only reduces waste but also adds a personal touch to your living space. With the right tools, materials, and a dash of creativity, you're well on your way to crafting a unique piece that will be the envy of your neighborhood. So why not gather your materials this weekend and embark on this exciting DIY journey?