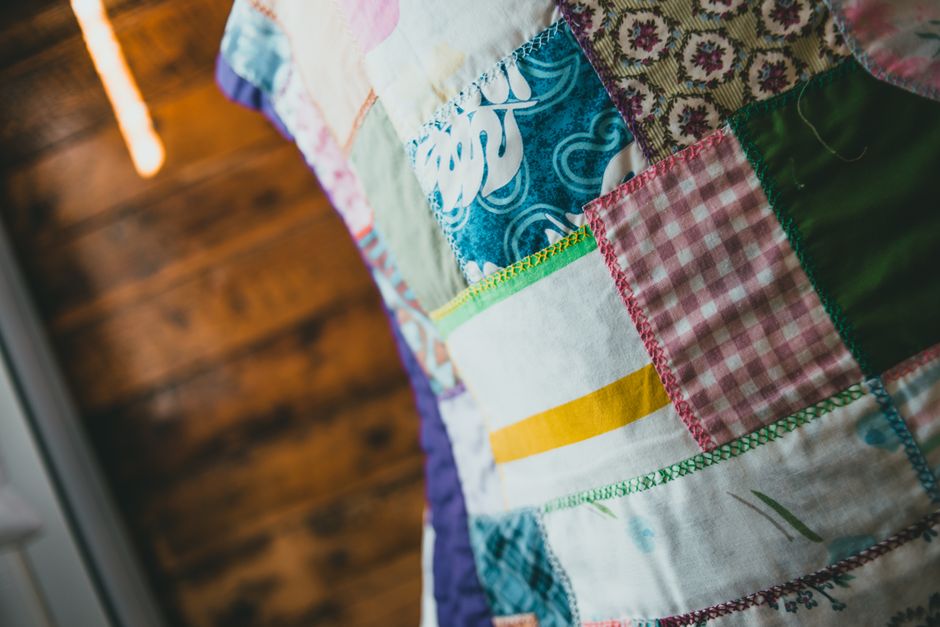
Have you ever looked at your collection of old fabrics and wondered what to do with them? Instead of letting these beautiful textiles gather dust, why not transform them into something both functional and visually stunning? Welcome to the world of Ankara quilts, a perfect DIY project for those who appreciate the vibrant patterns and colors of traditional African fabrics. In this article, we'll guide you through the process of creating your very own Ankara quilt, a craft that not only breathes new life into old materials but also celebrates Nigerian heritage.
Quilting might seem intimidating if you're a beginner, but with a little patience and creativity, you'll find it's a rewarding process. This guide is tailored to provide you with the step-by-step instructions needed to turn your fabric stash into a cozy quilt. Whether you're doing this for personal use or as a thoughtful gift, the end result will be a dazzling piece of art that tells a story through every stitch.
Gathering Your Materials
Choosing the Right Fabrics
Start by selecting the fabrics you wish to use. Ankara fabrics are known for their bold and vibrant designs, which are perfect for making eye-catching quilts. Look for pieces that complement each other in color and pattern.
- Sort your fabrics by color and pattern to help in selecting combinations that work well together.
- Consider the size of your fabrics; quilting requires different sizes for various sections.
Essential Tools
To begin quilting, you'll need a few essential tools. Don't worry; these are mostly basic items you might already have at home.
- Sewing machine or needle and thread for hand sewing
- Fabric scissors and rotary cutter for cutting fabric patches
- Quilting ruler or measuring tape
- Pins and pin cushion
- Iron and ironing board for pressing seams
Designing Your Quilt
Creating a Pattern
Designing your quilt pattern is one of the most exciting parts of the process. It allows you to put your creative stamp on your project.
- Traditional patterns: Consider classic designs like the log cabin or patchwork, which work beautifully with Ankara prints.
- Custom designs: Sketch your own pattern if you have a specific vision in mind.
Laying Out the Fabric
Once you have a pattern in mind, lay out your fabrics to see how they look together. This step is crucial to ensure that the colors and patterns harmonize well.
- Arrange the fabric pieces on a flat surface, trying different configurations until you're satisfied with the arrangement.
- Take a picture of your layout to use as a reference when sewing.
Piecing the Quilt
Cutting the Fabric
After deciding on your layout, it's time to cut the fabric into the shapes needed for your quilt pattern.
- Use a rotary cutter and quilting ruler for precision cutting.
- Follow your pattern measurements, ensuring each piece is cut accurately.
Sewing the Patches
Begin sewing the fabric pieces together. This step requires patience and precision to ensure all the patches align correctly.
- Start by sewing smaller sections and gradually join them to create larger blocks.
- Press each seam with an iron to keep the patches flat and neat.
"Consistency in sewing will lead to a quilt that looks professionally made. Take your time, and enjoy the process."
Assembling the Quilt
Adding Batting and Backing
The next step involves adding the quilt's filling and backing, which gives it warmth and stability.
- Choose a soft batting that complements the thickness you desire for your quilt.
- Select a backing fabric, ensuring it's large enough to cover the entire quilt top.
Quilting the Layers
Once everything is in place, it's time to quilt the layers together. This is done by sewing through all layers, creating a textured pattern.
- Decide on your quilting design, whether it's straight lines, free-motion, or simple grids.
- Start quilting from the center and work your way to the edges to prevent creases.
Finishing Touches
Binding the Quilt
The final step involves binding the quilt, which finishes the edges and gives it a polished look.
- Cut binding strips and sew them around the edges of the quilt.
- Fold the binding over to the back and stitch it in place for a tidy finish.
Final Inspection
Before calling your quilt complete, give it a final inspection to ensure everything is as it should be.
- Check for any loose threads or unfinished seams and correct them.
- Press the quilt one last time for a crisp and clean appearance.
Conclusion
Creating an Ankara quilt is more than just a craft project; it's a fulfilling journey that pays homage to the vibrant culture of Nigeria. By transforming old fabrics into a cherished quilt, you not only preserve the beauty of these textiles but also contribute to sustainable crafting. We hope this guide has inspired you to start your quilting adventure. With each stitch, you add a touch of joy and creativity to your home. Happy quilting!