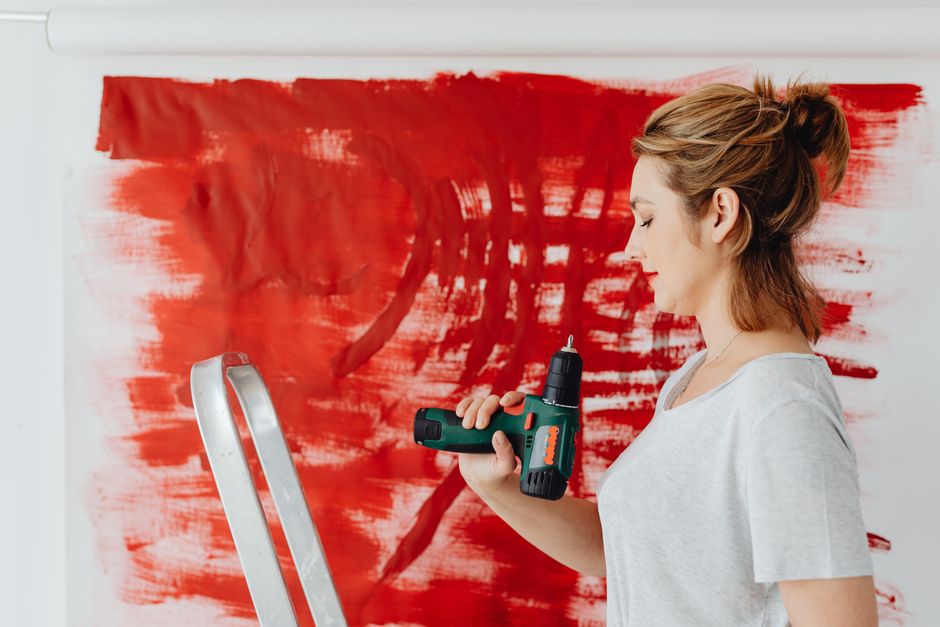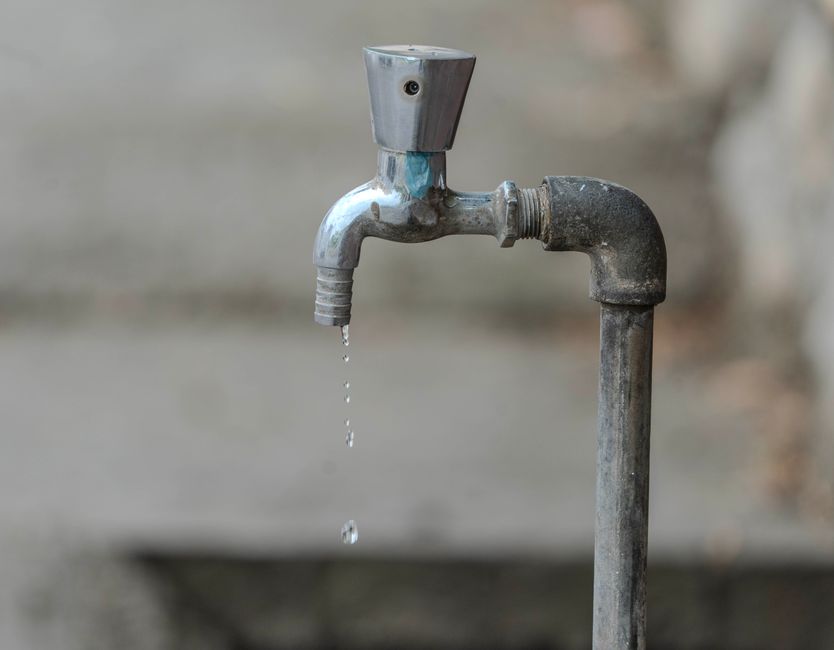
In Nigeria, where skilled labor can sometimes be costly and unreliable, being able to handle basic home repairs is a valuable skill. Not only does it save money, but it also fosters a sense of independence and accomplishment. Whether you're dealing with a leaky faucet in Lagos or a squeaky door in Abuja, knowing how to address these issues can be immensely rewarding. This guide will walk you through essential DIY home repairs, offering practical advice tailored to the Nigerian context.
The ability to perform simple home repairs is empowering. Imagine not having to wait days for a handyman to fix a minor issue. Instead, you can tackle it yourself, often with minimal tools and materials. This guide aims to equip you with the knowledge and confidence to handle common home repairs. From fixing electrical outlets to patching up wall cracks, we've got you covered.
So, whether you're a seasoned DIY enthusiast or a complete novice, this guide is for you. We'll provide step-by-step instructions, tips, and important safety precautions to ensure your home repairs are successful and safe. Let's dive into the world of DIY home repairs and discover the satisfaction that comes with fixing things with your own hands.
Fixing Leaky Faucets
Identifying the Leak
The first step in fixing a leaky faucet is identifying the source of the leak. Check if the leak is coming from the spout, handle, or base. This will determine the repair method needed.
- If water drips from the spout, the issue is likely with the faucet's washer or valve seat.
- Leaking around the handle suggests a problem with the O-ring.
- Leaks at the base could mean a faulty seal.
Tools and Materials Needed
- Adjustable wrench
- Replacement washers or O-rings
- Plumber's tape
- Screwdriver
- Bowl for catching water
Step-by-Step Repair
- Shut off the water supply to the faucet.
- Disassemble the faucet using a screwdriver and wrench.
- Replace worn out washers or O-rings, ensuring a snug fit.
- Reassemble the faucet, checking for any leaks.
- Turn on the water supply and test the repair.
"A leaky faucet can waste gallons of water if not fixed promptly. Regular maintenance is key."
Repairing Wall Cracks
Understanding Different Types of Cracks
Not all wall cracks are the same. Some indicate structural issues, while others are purely cosmetic. It's crucial to understand the type of crack before attempting a repair.
- Hairline cracks: Often caused by drying plaster, these are usually superficial and easy to fix.
- Vertical cracks: Typically due to settling, but should be monitored for widening.
- Diagonal cracks: May indicate foundation issues and require professional assessment.
Materials Required
- Polyfilla or joint compound
- Putty knife
- Sandpaper
- Paint matching the wall color
Repair Process
- Clean the crack to remove loose debris.
- Apply Polyfilla or joint compound with a putty knife, filling the crack thoroughly.
- Allow the filler to dry completely.
- Sand the repaired area until smooth and level with the wall surface.
- Paint over the repaired area to match the rest of the wall.
"Cracks can be intimidating, but with the right approach, they are manageable. Always start small and work your way up."
Dealing with Electrical Outlet Issues
Safety First
Electrical repairs can be dangerous if not handled correctly. Always take proper safety precautions before attempting any fixes.
- Turn off the power at the circuit breaker before starting any repair.
- Use insulated tools to prevent electrical shocks.
Common Outlet Problems
- Loose outlets: Often caused by wear and tear or improper installation.
- Dead outlets: May result from tripped circuit breakers or faulty wiring.
Fixing Loose Outlets
- Turn off the power to the outlet.
- Remove the outlet cover and check the mounting screws.
- If the outlet is loose, tighten the screws or replace with longer ones if necessary.
- Replace the cover and restore power to the outlet.
"Always respect electricity. A simple mistake can have serious consequences. If in doubt, consult a professional."
Door Hinges and Locks
Addressing Squeaky Hinges
Squeaky doors can be annoying but are usually easy to fix with some lubrication.
- Use WD-40 or petroleum jelly to lubricate hinges.
- Open and close the door several times to work the lubricant in.
Fixing Misaligned Locks
- Inspect the door alignment with the lock.
- Loosen the screws on the lock plate and adjust its position.
- Tighten the screws once the lock aligns properly with the strike plate.
"A well-functioning door is crucial for security and privacy. Regular maintenance can prevent most issues."
Conclusion
Mastering simple home repairs not only saves money but also empowers you to take control of your living environment. While some repairs may seem daunting at first, breaking them down into manageable tasks can make all the difference. Remember, practice makes perfect, and the more you engage with these DIY projects, the more confident you'll become in handling more complex repairs.
As you embark on your DIY home repair journey, keep in mind the importance of safety and patience. Don't hesitate to seek professional help for repairs beyond your expertise. Ultimately, the satisfaction of maintaining your home is a reward in itself, fostering a sense of accomplishment and self-reliance. Happy repairing!